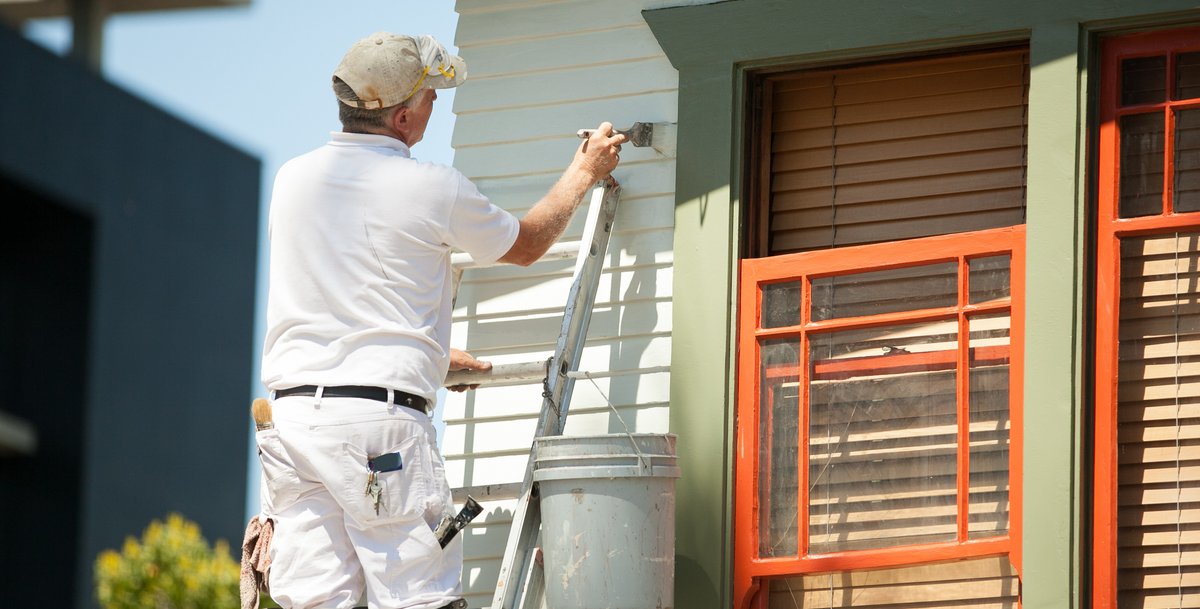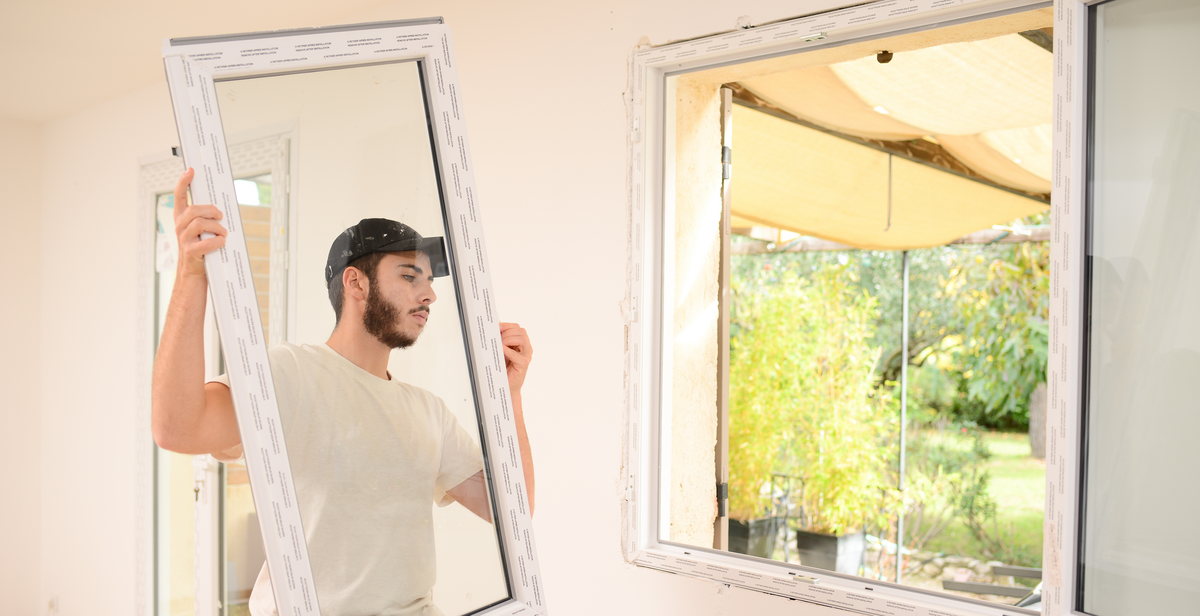
Replacing your home's windows is a significant investment that can dramatically boost curb appeal, improve energy efficiency, and increase your home's value. Whether your current windows are drafty, difficult to operate, or simply outdated, new windows can transform your space. But before you can order them, the single most important step is getting accurate measurements. An incorrect measurement can lead to costly ordering mistakes, installation delays, drafts, and a poor final fit. Getting it right from the start is the key to a successful project.
This guide is designed for measuring for "replacement windows," also known as insert or pocket windows. These units are designed to fit inside your existing window frames. This is different from "new construction" windows, which are used when the entire frame and siding are opened up. While professionals often use advanced tools and even window measurement software for perfect precision, you can get reliable initial measurements with just a tape measure and a few simple steps. This guide will walk you through exactly how to measure your windows to get a great start on your replacement project.
Understanding your window’s anatomy
Before you extend your tape measure, it’s essential to know the basic parts of the window frame. Window manufacturers use specific terms, and understanding them will ensure you measure the correct spots and avoid common errors. Measuring the trim instead of the frame, for example, is a frequent mistake.
- Head: This is the horizontal top piece of the main window frame. Your top measurement will be taken from here.
- Jambs: These are the vertical side pieces of the window frame. You will measure between the two jambs to find the width.
- Sill: This is the horizontal bottom piece of the window frame where the window sash rests when closed. It's the flat surface closest to the inside of your home. Do not confuse the sill with the stool.
- Stool: The stool is the decorative interior trim piece at the bottom that is often called the "windowsill" in casual conversation. It looks like a small shelf. You should not measure from this piece.
- Sash: The sash is the part of the window that holds the glass and is either movable or fixed. You will be measuring the opening that the sash fits into, not the sash itself.
- Casing or trim: This is the decorative molding that surrounds the entire window frame on the interior wall. Your measurements should be taken from inside the casing, from the frame itself.
Tools you'll need
You don’t need a full workshop to measure your windows. Gathering these few simple tools before you begin will make the process smooth and efficient, ensuring you get accurate numbers.
- A quality tape measure (with clear 1/16 inch markings)
- Pencil or pen
- Paper or a dedicated worksheet to record your measurements
- A level (optional, but highly recommended for checking if the frame is square and level)
How to measure windows for replacement in 4 easy steps
Follow these steps for each window you plan to replace. A critical rule of thumb is to measure every window individually, even if they appear to be identical. Decades of a house settling can cause small but significant variations from one window opening to the next. Always record your measurements as Width x Height.
Step 1: Measure the window width
To find the width, you’ll measure the distance between the side jambs at three different points. This is crucial because window frames are rarely perfectly parallel. This method accounts for any slight bowing or variation.
Measure horizontally from the surface of the left jamb to the surface of the right jamb. Take this measurement at the top, middle, and bottom of the window opening. Be precise and read the tape to the nearest 1/16 of an inch. Of the three numbers you get, circle and write down the smallest measurement. This is your official width. Using the narrowest point, often called the "tight" measurement, ensures the new window unit can be installed into the opening without being forced, which could damage the window or the frame.
Step 2: Measure the window height
Next, you will measure the window’s height using the same three-point method. This measurement runs from the head of the window frame down to the sill.
Measure vertically from the underside of the head (the top of the frame) to the top of the sill (the flat surface the window closes onto). Take this measurement at three points: on the left side, in the center, and on the right side of the window. Once again, of the three measurements you take, circle and write down the smallest one. This will be your official height, ensuring the new window will fit at the shortest point of the opening.
Step 3: Measure the window depth
Jamb depth is not always required for an initial quote, but it is a vital measurement for ensuring a proper fit. This measurement confirms the replacement window isn't too deep or too shallow for the opening. An improper depth can cause aesthetic issues and sealing problems.
Open the window and measure the usable space between the inside window stop and the outside blind stop. Ignore any pulleys or parting strips that may be part of your old window. Most standard replacement windows require a clear opening depth of at least 3 1/4 inches to fit correctly. If your measurement is less than this, which can happen in older homes with plaster walls or certain types of construction, be sure to inform your window professional.
Step 4: Check if the window is square
An out-of-square window opening can complicate installation. This quick diagonal measurement is the easiest way to check the squareness of your frame.
Measure diagonally from the top left corner of the window frame to the bottom right corner. Write down the number. Then, measure from the top right corner to the bottom left corner. Compare the two numbers. If they are within 1/4 inch of each other, your window is considered square, and a standard replacement should fit well. If the difference is larger, the opening is out-of-square. This is not a dealbreaker, but it means the installer will need to use shims to set the window perfectly level and plumb within the opening. Knowing this in advance helps set clear expectations for the installation.
Pro tip:
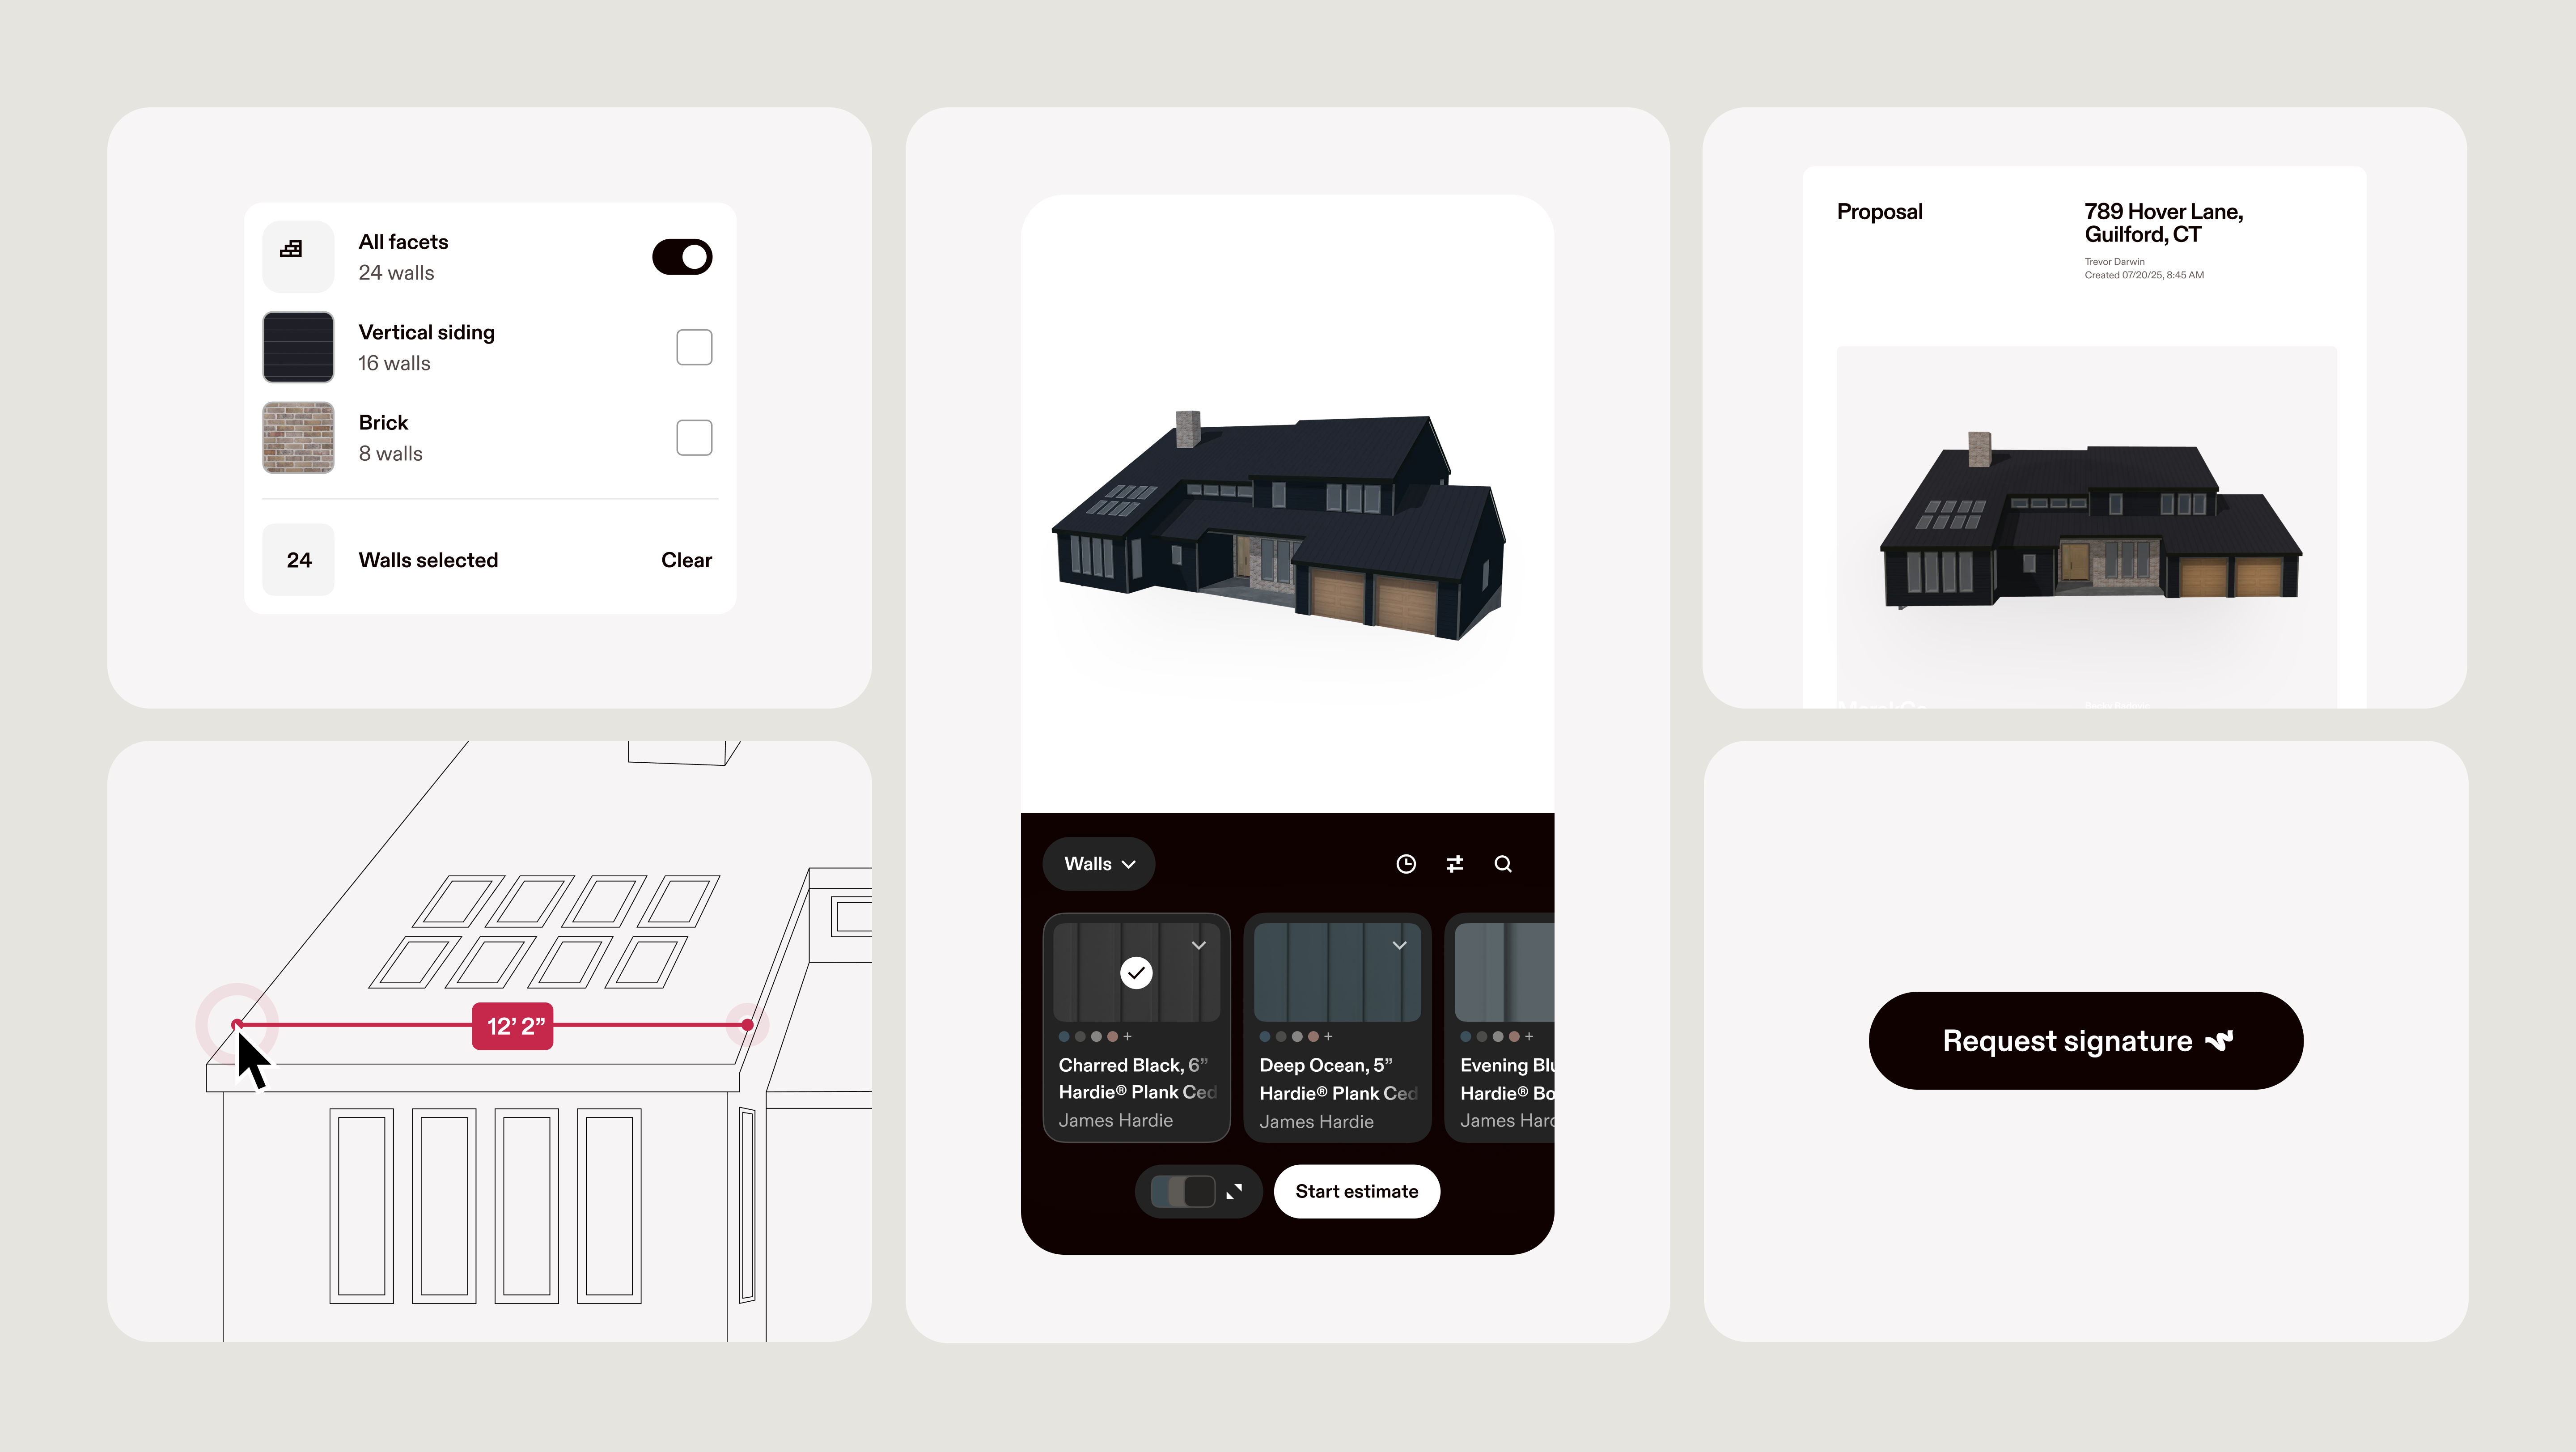
Instead of measuring manually, you can download the Hover app, and we'll do the work for you. Simply upload photos of the home exterior, and Hover will generate a 3D model with detailed window, roofing, siding, and door measurements. From there, you can visualize real products for confident decision-making and accurate cost estimates.

Common mistakes to avoid when measuring
Getting accurate measurements is all about precision and avoiding a few common pitfalls. Keep these points in mind to ensure your numbers are correct.
- Measuring the old window itself: Do not measure the visible glass or the window sash. You must measure the interior dimensions of the window frame or opening where the new window will sit.
- Including the trim or casing: Remember that the decorative trim around the window is not part of the opening. Always place your tape measure on the actual frame jambs and sill.
- Forgetting to measure in three places: It can be tempting to just take one measurement in the middle, but house settling and age can warp frames. The three-point measurement technique is non-negotiable for an accurate fit.
- Rounding your numbers: Precision is key. Always measure to the nearest 1/16th of an inch. Do not round up or down to the nearest inch, as even a small fraction can mean the difference between a snug fit and a loose one.
After you measure—what's next?
With these careful measurements in hand, you are well-equipped to have productive conversations with window suppliers and get realistic quotes for your project. This preparation helps you budget effectively and understand the scope of your project.
However, remember that these are your initial measurements. Before any custom windows are ordered, a professional installer or project consultant should visit your home to take their own final, official measurements. This is a critical step that protects you. During this visit, they will not only confirm your numbers but also inspect the condition of your existing window frames for any hidden issues like rot or water damage that must be addressed before a new window can be installed. This professional confirmation is the ultimate guarantee that your custom-built windows will fit your home’s unique openings perfectly, ensuring a secure, weathertight, and energy-efficient installation for years to come.
Ready for perfect measurements, every time?
Now that you know the manual process, see the revolutionary way to get every measurement you need. With the Hover app, you can transform photos of your home into a precise, interactive 3D model. Get all your window measurements automatically and start designing with real products to see how they’ll look on your actual home.