Is your roof leaky, covered in mold, or you’re simply looking to increase your home’s curb appeal? Then it’s time for a new roof. But roof installation is no easy task. You can do it yourself, although it’s a lot of heavy lifting, exposure to the elements, and plenty of time spent going up and down a ladder.
Before embarking on this task, break out your ladder and climb up to your roof. If you can’t walk around your roof comfortably, then it’s time to call a roofer. However, if you’ve passed this first test, continue reading. This article will discuss how to prepare you for your roofing project, the steps required, and some critical tips.
Preparing for your new roof installation
Before nailing down your new shingles, you’re bound to have some basic questions: How much does it cost to install a roof? How long does it take to install a roof? How do I know when to replace my roof? And can I roof a house myself?
Let’s break down each of these questions.
How much does it cost to install a roof?
To put it plainly, the national average cost to replace a roof is around $8,000, with most people spending in the range of $5,500 to $11,000 (the cost could get up to $46,000 for an intensive metal roof replacement). While that number might be a little scary, we have some good news. According to Zillow, a roof replacement will return around 60% of its value when you sell your house. So, although it’s a lot of money upfront, it’s an investment for the future.
What are some of the factors that affect the cost?
- Labor: Since you’re doing it yourself you’ll be able to save yourself a good chunk of change—about 60% of the project’s total cost comes from labor.
- Materials: 40% of your project’s cost will come from materials which can be anywhere from $100 to $1,000 per square (a square is 100 square feet). The reason why this cost can vary so much is that there is a range of materials, asphalt being the least expensive and copper being the most. Read a deeper dive into roofing materials here.
- Extent of damage: If you’ve ripped up your shingles and see rotting timbers underneath, then the cost of your roof replacement is going to go way up because you’ll need more equipment and materials to rectify the damage.
How long does it take to install a roof?
Every home is different so every timeline will be different. With that being said, the average residence’s roof (3,000 square feet or less) can be replaced in two days—on day one, you rip up the roof, and on day two you install the new roof.
However, in extreme cases involving weather conditions and the supply of your materials, it can take five days or even three weeks. So, always be prepared and have a game plan if your roofing installation project begins to get long.
How do I know when to replace my roof?
The $8,000 question! Just because your roof is leaking doesn’t mean you need to replace your entire roof, that could simply call for a roof repair. But the answer as to when you should replace your roof can vary. Here are three of the most common reasons to replace your roof:
- Your material’s lifespan has run out. If your asphalt roof was well ventilated then you should get about 25 years of life out of it. But you don’t want to run the risk of replacing it too late. That’s why most contractors recommend replacing materials at around 80–85% of the roof’s life—so consider replacing a 25-year roof around the 20-year mark.
- Your roof fails prematurely. The materials should last as long as the manufacturer specifies. But with bad installation and poor attic ventilation, your roof can fail. If your roof wasn’t installed properly then you’ll find shingles in your yard, and maybe have whole patches of your roof slide off.
- Your roof was damaged in a storm. Even if everything was done correctly, no one can predict Mother Nature, and storms happen. If high winds come through and rip up your shingles or a tree falls on your roof, then you’re going to need a new one.
Can you roof a house yourself?
Technically, yes you can. However, if done incorrectly you can cause a lot of damage to your roof leading to more costs down the road. And if you have a highly technical roof with steep angles, dormers, pitch changes, chimneys, or any variety of specialty issues, we’d recommend you call a professional roofing installation company.
That being said, if your roof is pretty straightforward, you're a handy person and feel comfortable at great heights, then go for it! Just be sure you’re following all the safety precautions that can be found in this guide and any of the other DIY resources.
How Hover can help
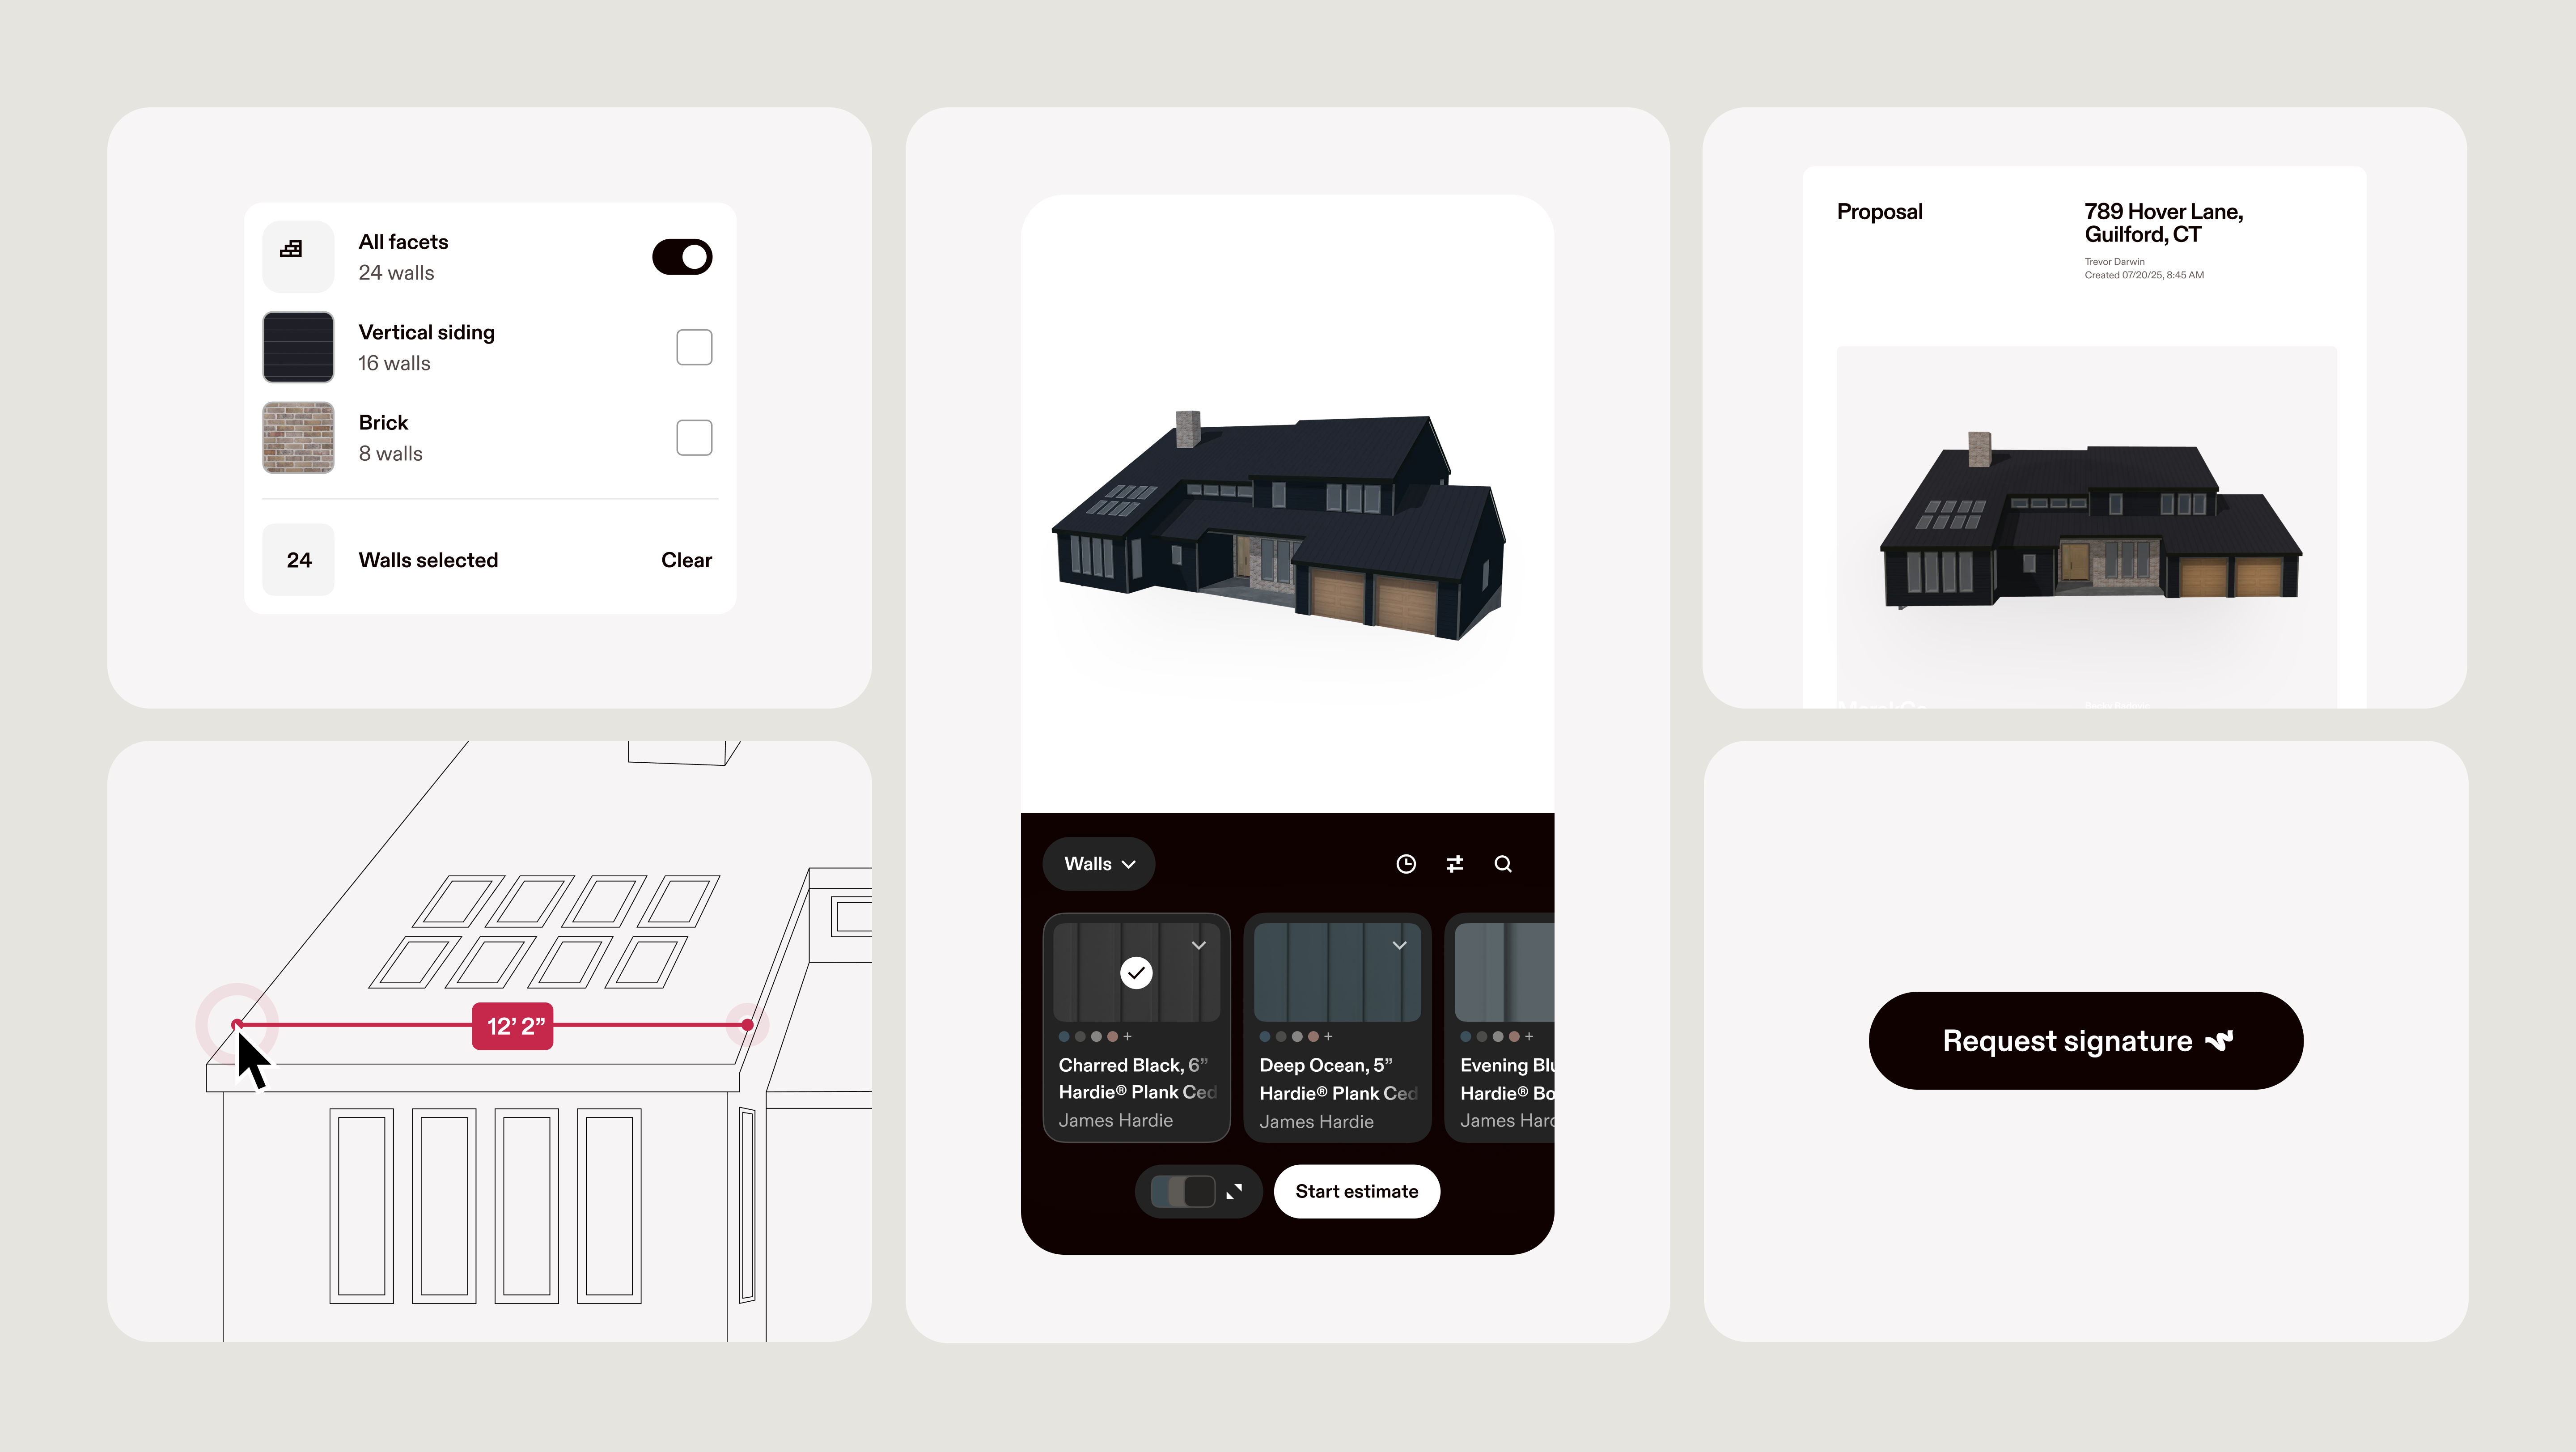
Getting accurate measurements of your roof is crucial no matter if you’re doing the project yourself or decided to hire a roofer. Hover generates the most accurate measurements (and a whole lot more) from a few photos of your home. Our software lets you see and interact with measurements in 3D to easily obtain roof dimensions and discover your different siding options.
Plus, Hover reduces your “ladder time,” so there’s less time spent going up and down a ladder taking measurements, doing math, re-doing measurements, and going to the store. You simply need to use Hover once to get a clear picture of the size of your project and the exact amount of materials needed.
Roofing materials and process
Now that you know when and if you should replace your roof and the time and money that goes into it, let’s get into what you’ll need.
Roofing materials required—for a successful project, you’ll need:
- #15 or #30 felt underlayment
- Asphalt shingles (or whichever material you decided on)
- Drip edge
- Hook blades
- Roofing nails
- Sealant
- Self-adhesive waterproof underlayment (“ice and water shield”)
- Staples
- Step and dormer flashing
- Valley flashing
- Vent flashing
In addition to these key materials, you’ll also need tools to make sure you’re properly installing your roof to avoid premature failure. These are the tools we recommend:
- Air compressor
- Air hose
- Caulk gun
- Chalk line
- Circular saw
- Extension ladder
- Roof harness
- Roofing nailer
- Scaffolding
- Stapler
- Straightedge
- Tin snips
- Utility knife
- Work gloves
Roof Installation Steps
As we’ve mentioned before, roofing is tough, and it’s essential to get it right. So we’re happy to break down the steps involved.
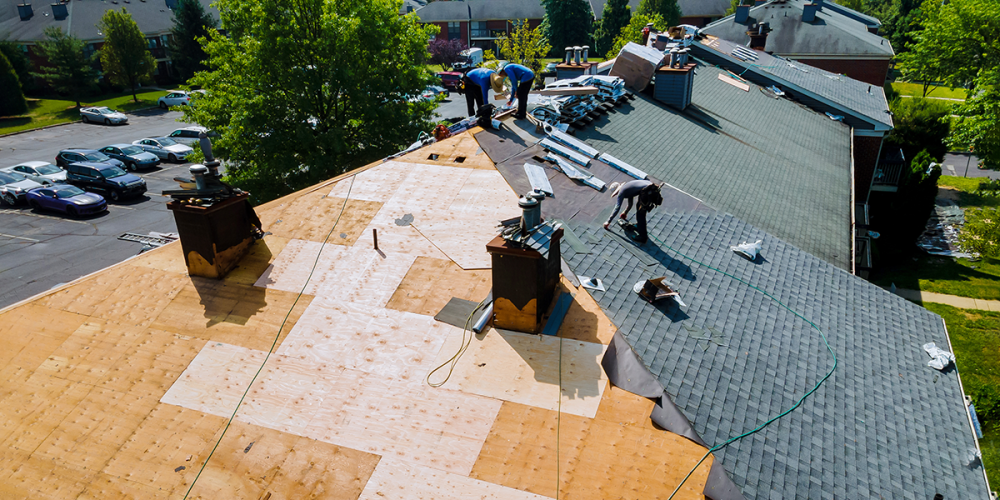
1. Tear off the old roof
You can’t properly install a new roof on top of the old one. Some of the shadier contractors are known to add a new roof on top of the old, but that’s a near guarantee of premature roof failure.
- Use a roofing shovel or pry bar to remove old shingles.
- Remove underlayment and inspect decking for damage.
- Pull out or hammer down all protruding nails.
- Dispose of old roofing material safely in a dumpster.
2. Install the drip edge
The drip edge is the metal flashing that’s installed at the edges of the roof to help control the flow of water away from your fascia. When you replace an asphalt roof, you must replace your drip edge or your home will not be up to code.
- Begin at the lower edge of the roof and work your way up the rakes.
- Nail the drip edge into place using roofing nails spaced every 8–10 inches.
- Overlap pieces by about 2 inches for watertight coverage.
- Ensure the drip edge hangs slightly past the fascia board.
4. Roll out the underlayment
Underlayment is a felt or synthetic material used over your decking to provide additional protection. It helps prevent ice or rain from seeping into your home.
- Start at the bottom edge and roll it horizontally across the roof.
- Overlap rows by at least 4 inches.
- Secure it using staples or cap nails every 6–8 inches.
- Flatten out any wrinkles or bubbles for a smooth surface
5. Waterproof the valleys
Valleys are where two roof slopes meet in a “V” shape and channel a lot of water. They need extra attention to prevent leaks.
- Install a self-adhesive ice and water shield along the valley.
- Center it over the valley and press down firmly.
- Add a second layer of underlayment for extra protection.
- Use metal flashing or weave shingles properly over the valley.
6. Apply starter shingles.
Starter shingles are the first course of shingles along the edge of the roof. They’re narrower and help prevent water infiltration beneath the shingles.
- Install them along the eaves with the adhesive strip facing up and out.
- Offset the starter strip so it doesn’t align with the seams of the full shingles above.
- Nail them securely with roofing nails.
7. Install the shingles
Shingles are applied in an overlapping pattern and secured with a nail gun.
- Begin at the bottom edge and work your way up.
- Stagger each row so seams don’t align.
- Use 4–6 nails per shingle, depending on wind zone.
- Check manufacturer guidelines for proper exposure and nail placement.
8. Install the flashing
Flashings are metal pieces installed around roof penetrations to prevent leaks.
- Apply flashing around chimneys, skylights, vents, and walls.
- Use step flashing along vertical surfaces like dormers.
- Nail flashing in place and seal edges with roofing sealant.
- Make sure flashing overlaps correctly with shingles for water runoff.
9. Cap the ridge
The ridge is the top of your roof and needs special shingles for protection and airflow.
- Use ridge cap shingles or cut standard shingles to fit.
- Start from the end opposite the prevailing winds.
- Overlap each cap by at least 5 inches.
- Nail each one with longer roofing nails.
10. Seal it up
The final step is ensuring your new roof is sealed and protected.
- Inspect for exposed nails and cover them with roofing sealant.
- Apply sealant around flashing and vents as needed.
- Clean up all debris from the worksite.
- Check for any missed nails, gaps, or loose shingles.
11. Admire your work
Congrats! You’ve tackled one of the biggest home improvement jobs there is. Enjoy your new roof—and the peace of mind that comes with it.
Last-minute roof installation tips
So, you now know what you need and have the basic process of installing a roof. Here are some tips to make the project run smoothly.
- Choose the right materials. Select roofing materials that fit your climate, wind conditions, and budget.
- Use quality fasteners. Hot-dipped galvanized nails will outlast many other components.
- Use Hover to get accurate measurements. This reduces errors and ensures you buy the right amount of materials.
- Prepare for noise. Roofing projects are loud—consider relocating pets or small children during the install.