Pre-construction is the first step in a construction project and is often considered to be the most important element in producing a successful outcome. It outlines the project’s entire scope, schedule, and budget.
In this article, we’re going to get into what pre-construction is and provide you with the information you need to fill out a pre-construction checklist. Plus, we’ll give you the tools to help this step run smoothly.
What Is pre-construction?
Pre-construction is the initial planning and engineering services offered by construction companies before a job begins. This involves defining the project, identifying potential issues, planning and scheduling, producing a scope, performing a cost estimation, and analyzing the job’s needs.
Essentially, pre-construction forms the building blocks of a successful project. With quality pre-construction, a homeowner can decide if they’re able to follow through with the construction project. The client might discover that the project is too pricey or they don’t like how the contractor works. Finding these things out early is better and cheaper for everyone.
This phase brings the client and contractor together as a cohesive team. It provides a clear outline for the contractor to follow during the job and educates the owner on what they need to do to make their project functional.
Benefits of pre-construction
- Cost efficiency: Identifying potential issues and estimating costs early helps prevent budget overruns and ensures the project stays within financial constraints.
- Time management: Effective planning and scheduling during pre-construction help avoid delays and ensure the project stays on track.
- Risk reduction: Early identification and analysis of potential risks allow for the development of strategies to mitigate them, reducing the likelihood of unforeseen problems.
- Enhanced communication: Pre-construction facilitates better communication between the client and contractor, ensuring alignment on project goals and expectations.
- Improved quality: A well-planned project is more likely to meet quality standards and client expectations, leading to higher satisfaction and fewer revisions.
The pre-construction process
The pre-construction process is vital for the success of the project. It’s a time when the client gets a full breakdown of the cost, schedule, and scope. There are seven steps to follow to ensure a successful pre-construction process.
1. Determine a pre-construction manager
This might seem like a small, unnecessary step, but a pre-construction manager is key to a smooth process. It’s their job to guide the process. They’re in charge of:
- Having an understanding of the project
- Assembling a team to do the work
- Developing a strategy and schedule
- Building an understanding of the owner’s goals and aligning the project to match
It’s a lot of work being a pre-construction manager! That’s why it’s important to have a person dedicated to handling this important task.
2. Hold a pre-construction meeting
The whole pre-construction process needs to start with a kickoff meeting between the client and contractor. Here the two parties will get to know each other and the contractor will gain a better understanding of the homeowner's wants and needs.
- Goals and objectives: Outline the project’s goals, objectives, and scope.
- Questions and concerns: Address any questions or concerns from both parties.
- Client vision: Understand the client’s vision and ensure it aligns with the contractor’s capabilities.
This meeting is the perfect time for the contractor to see the client’s vision and get to work to decide if the project is possible.
3. Begin the sesign phase
After the initial meeting, the contractor gets to work on the designs. They’ll head to the job site to take measurements or produce a blueprint. This will then be presented to the client to visualize how the project will look after construction.
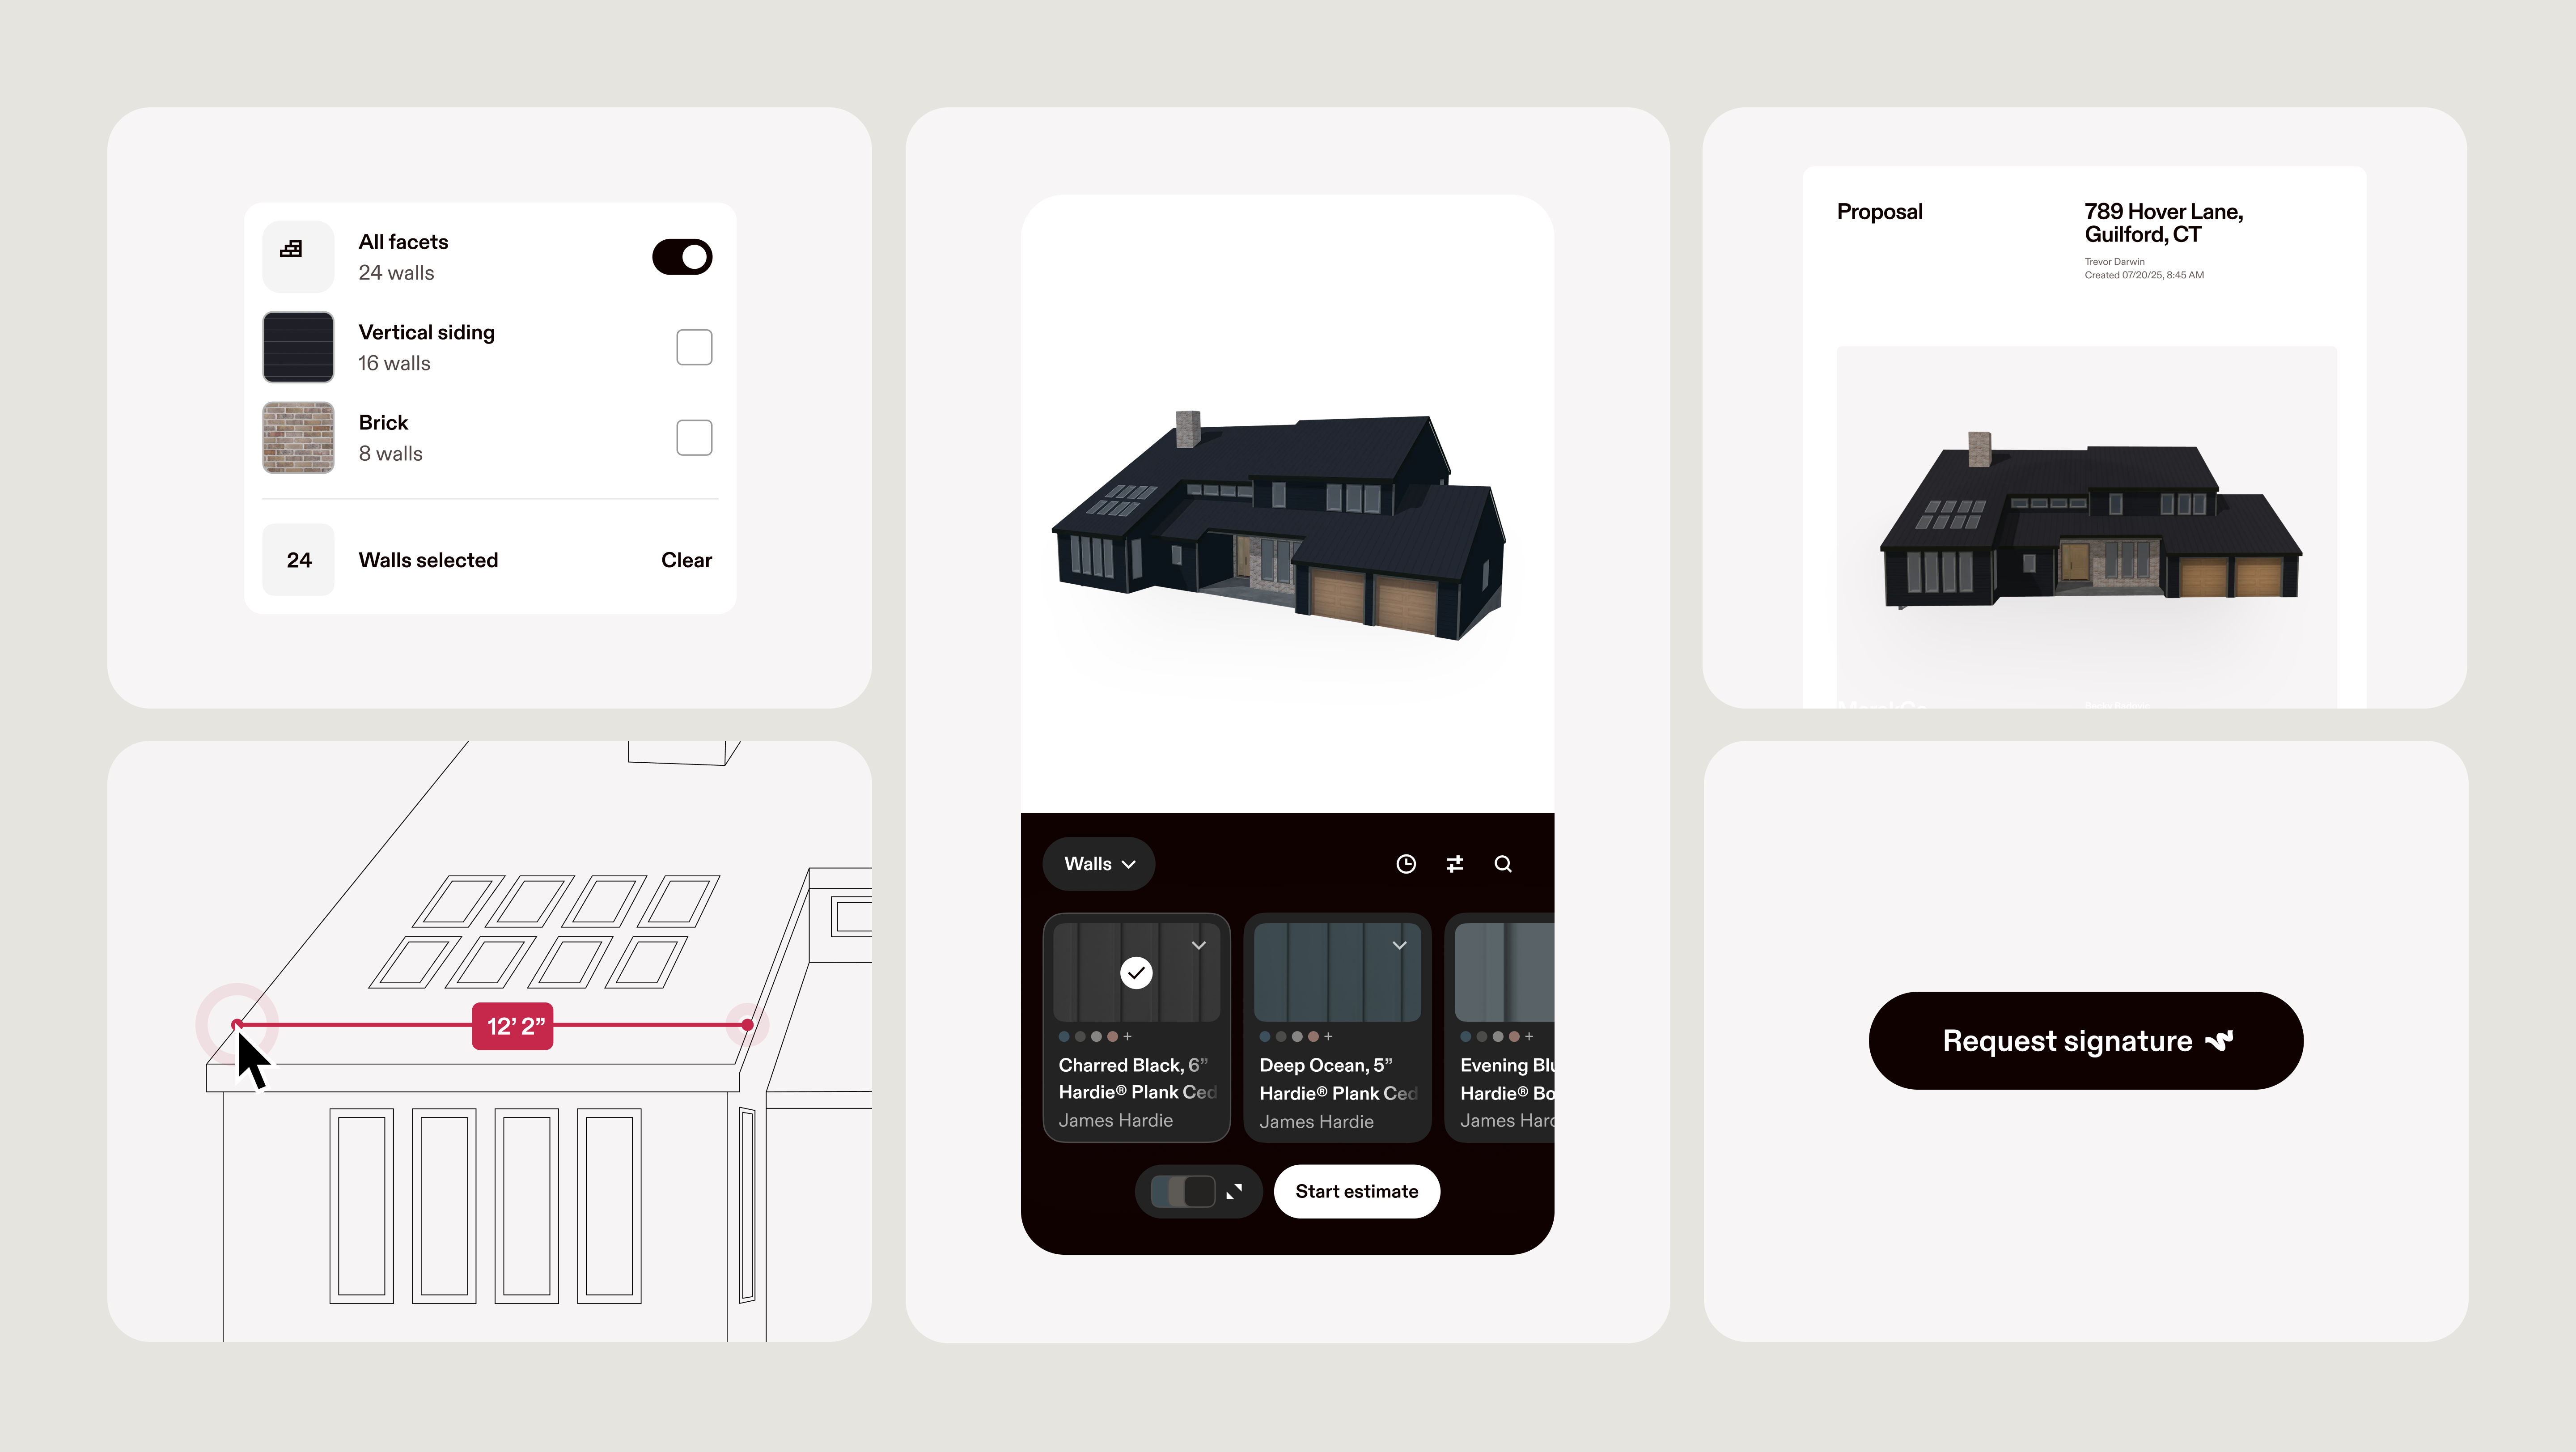
- Visualization tools: Using Hover’s technology, you’re able to create a dynamic 3D model of the client’s home and show them what the project will look like once complete.
Helping clients visualize their project is essential for the general contractor to land the construction job.
4. Take an assessment of the engineering
During this portion of pre-construction, the contractor looks into the existing conditions of the construction site. This could include the existing electrical system, HVAC, or plumbing. This check informs the contractor whether those systems will still work after the new construction is completed. And if not, the contractor must alert the homeowner and factor that into the project’s scope.
5. Perform a cost estimation
Now it's time for the estimation process to begin. To perform a successful estimate, you have to complete an effective digital takeoff first.
- Cost breakdown: The number of materials, labor costs, and what kind of materials are needed all go into creating an estimate for the client.
- Using Hover: With Hover, you gain accurate measurements and 3D visualizations from taking photos of an existing structure or through a simple blueprint upload. You’ll have an accurate estimate to help build trust and alleviate any concerns.
In the case of you importing a digital copy of your blueprint to Hover’s software, you'll get to-the-inch measurements in 24-hours or less. Plus, when you present your estimate to the customer, you can pair it with the 3D model you created during the design phase to seal the deal.
6. Create a task matrix
The task matrix, or responsibility matrix, is used to keep everyone accountable for their specific tasks and deliverables. It specifically outlines:
- Who is responsible for what
- Who is providing what item
- Who is handling the construction elements
This matrix makes sure everyone is on the same plan and provides a clear outline of what everyone is signed on to do. Clear communication is important to maintaining a smooth project that stays on budget.
7. Define an initial schedule
Now that the scope, estimate, and matrix are all laid out, you can officially create an effective schedule. The contractor will estimate the number of days to complete each task and provide a rough idea of how long to complete the project.
- Initial timeline: The first schedule you create is more of a guide for the client. They can use it to see what is going to be completed and when.
- Adjustments: As the project progresses and decisions are made, the schedule can and will need to be adjusted.
The pre-construction team
A successful pre-construction phase relies on the collaboration of various key players. Each team member has specific roles and responsibilities:
Owner
The owner is the client who initiates the project. Their responsibilities include providing project requirements and goals, approving budgets and design plans, and making final decisions on project scope and changes.
Developer
The developer manages the project from a business perspective. This includes overseeing financial aspects and funding, coordinating between various stakeholders, and ensuring that the project aligns with market needs and regulations.
Design team
The design team consists of architects, engineers, and designers responsible for creating detailed design plans and blueprints, ensuring compliance with regulations, and addressing any design-related issues.
General contractors
General contractors manage the construction process, coordinating with subcontractors and suppliers, overseeing construction activities, and managing schedules and budgets.
Construction managers
Construction managers oversee the daily operations on the construction site. Their duties include ensuring that work is completed according to plans, addressing any issues that arise, and managing project safety and compliance.
Transitioning from pre-construction to construction
Successfully transitioning from pre-construction to construction involves several key steps. Finalizing contracts is essential to ensure that all agreements are in place before construction begins. This includes reviewing and confirming project scope, budget, and schedule, as well as ensuring that all legal and contractual agreements are finalized.
Effective communication with all stakeholders is crucial for a smooth transition. Conducting a kickoff meeting to review the project plan and address any final questions or concerns is a key part of this process. Providing regular updates to clients and team members throughout the construction phase helps maintain alignment and addresses any emerging issues.
Finally, implementing the project plan involves starting construction activities according to the approved schedule. Monitoring progress and addressing any issues that arise during construction are essential to ensure the project remains on track and meets its goals.
Your pre-construction checklist
We’ve gone through what the pre-construction planning and execution look like. So, now we can outline the list of deliverables you should have coming out of the pre-construction process:
- Project scope
- Project budget
- Project details
- Project team
- Project materials
- Project permits and inspections
- Project communication
Make this process seamless and achieve your deliverables faster with Hover. You gain comprehensive and accurate measurements from a few smartphone photos. This data helps you communicate the project’s scope more effectively with clients and other stakeholders throughout the process.
Chat with a rep today to learn how to integrate Hover into your pre-construction process!